Table of Contents
Creating GameTank Graphics With Aseprite
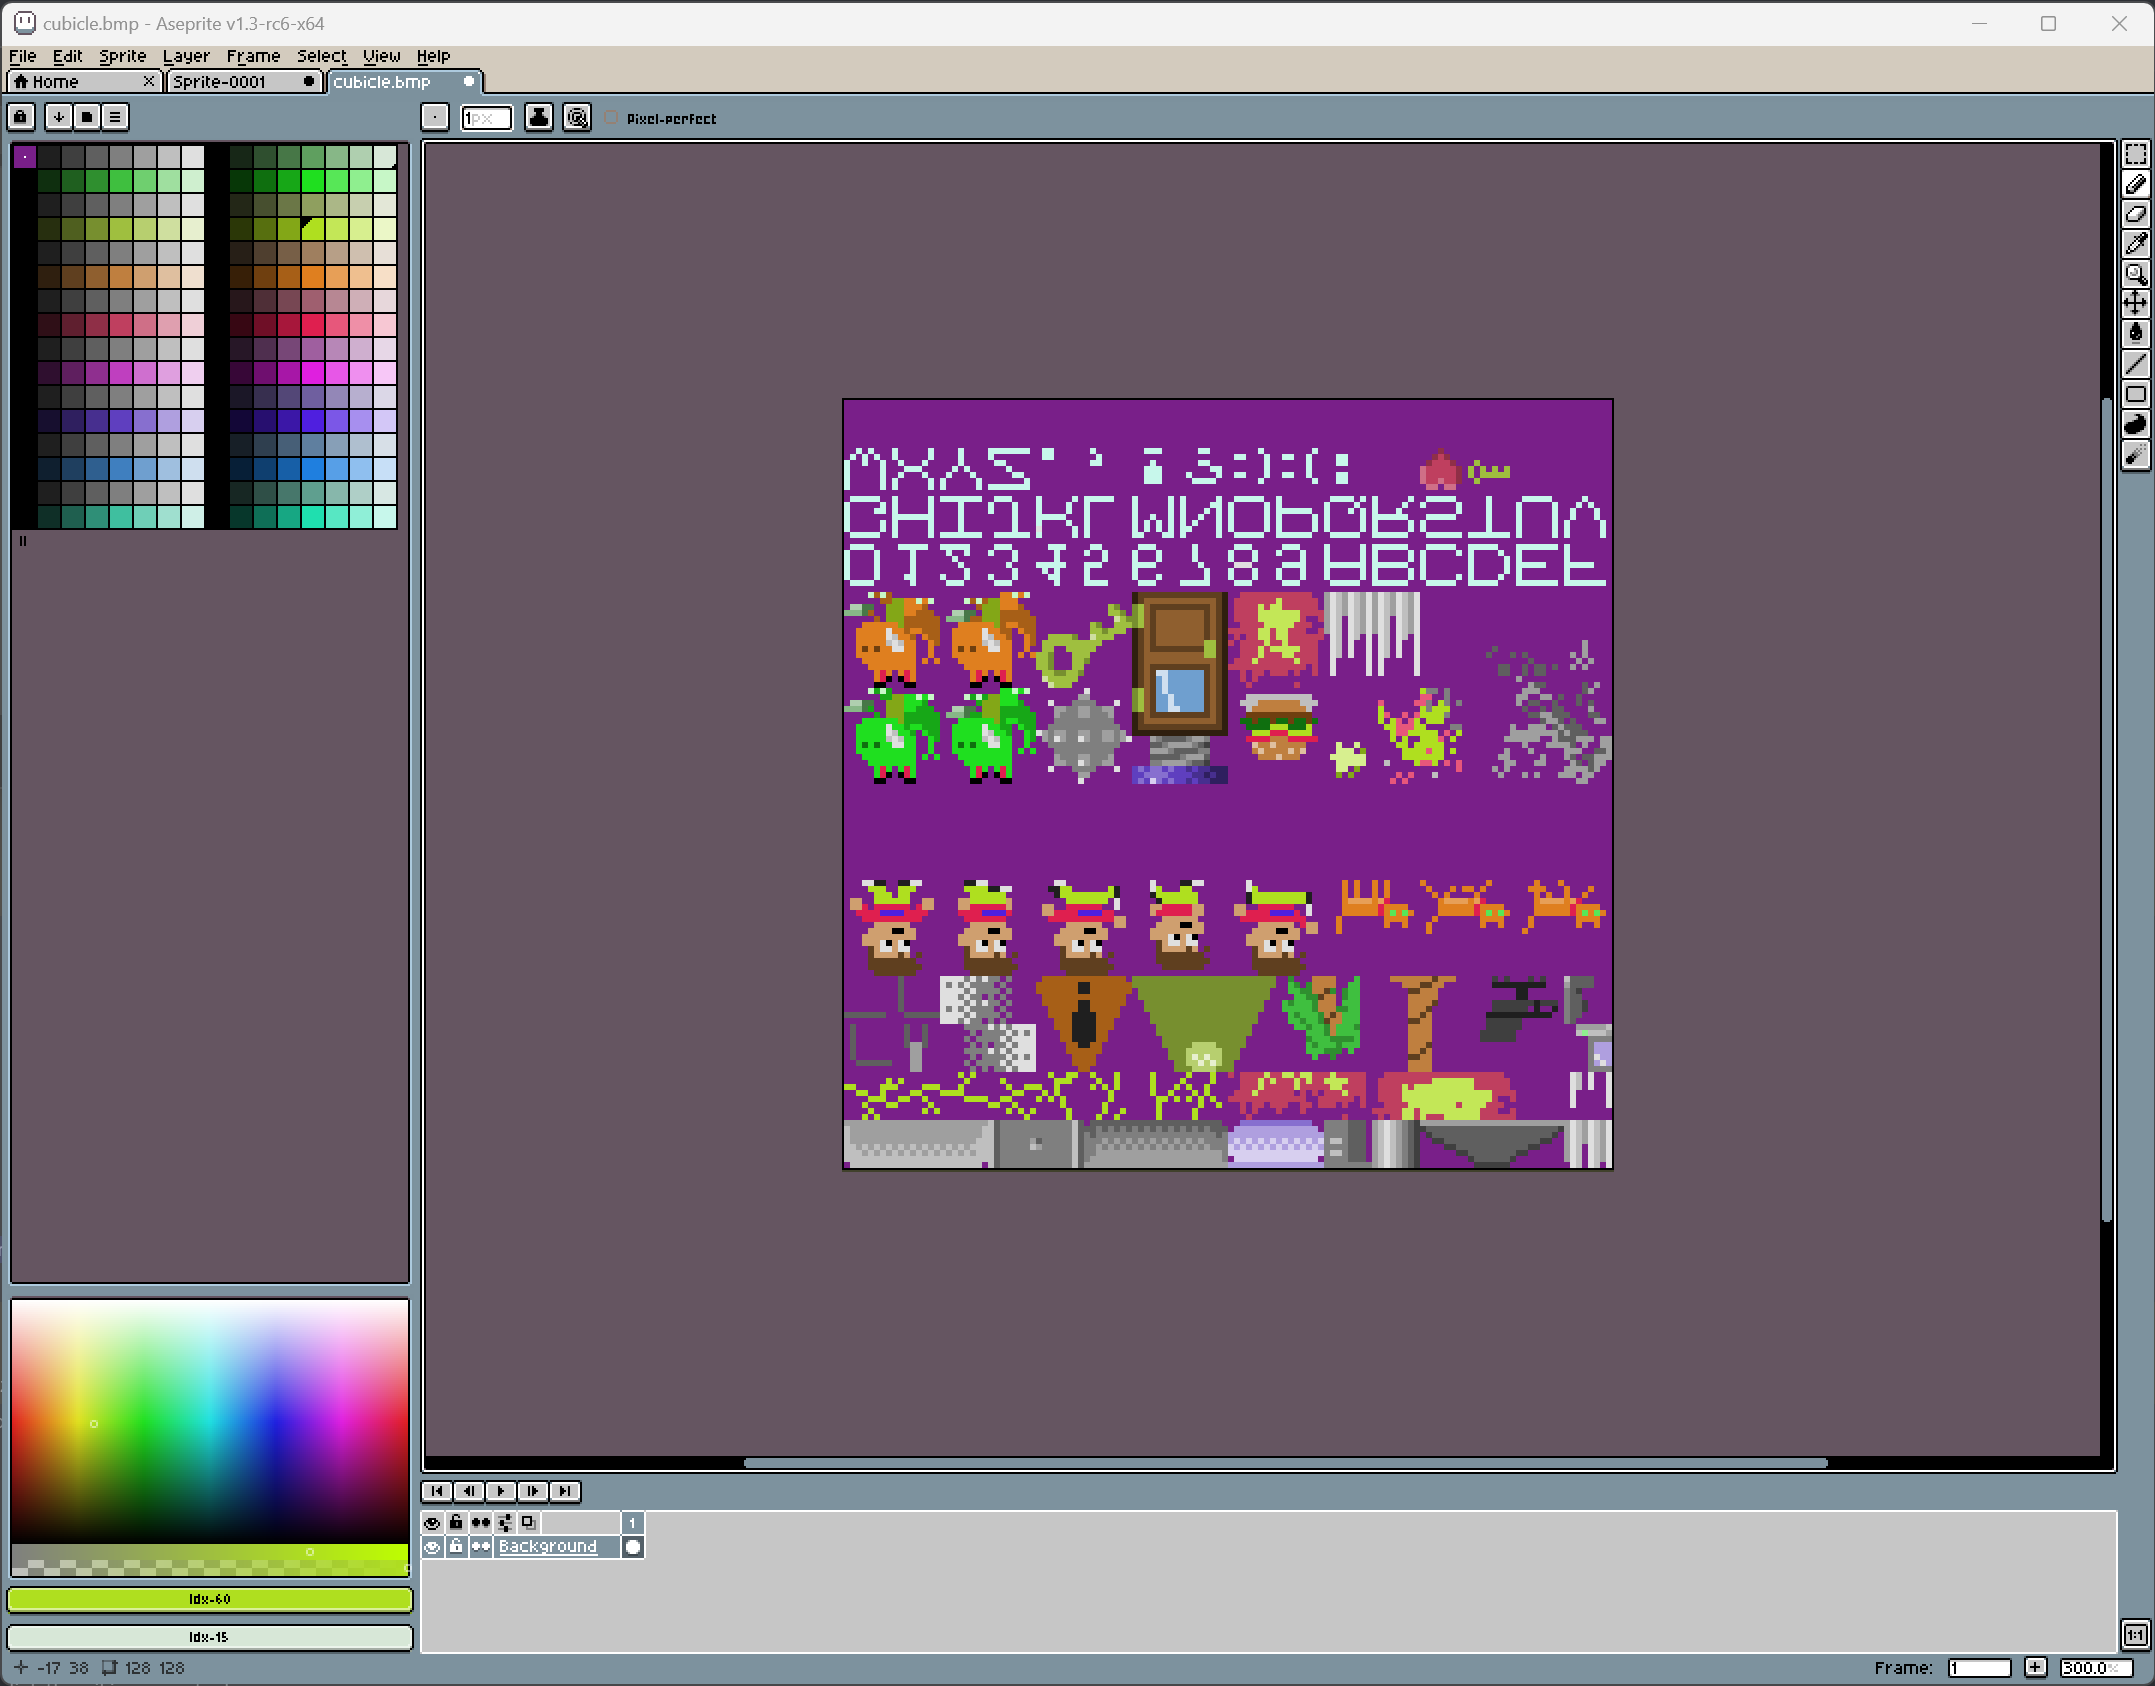
Aseprite is a popular image editing program for pixel art drawing and animation. It has a number of features that assist in producing game assets. In this article we'll look at workflows for creating art assets to use in GameTank games and translating them to the GameTank's “native” format.
File setup
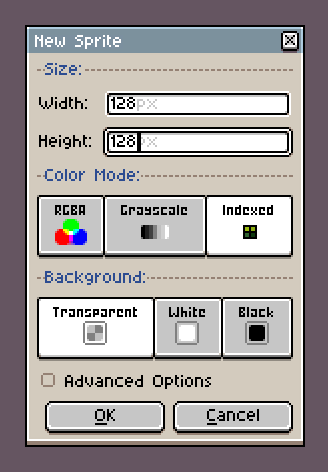
To create a file that can be rendered by the GameTank video hardware, the final output should be a Bitmap image with the color mode set to “Indexed”, the palette set to GAMETANK.act (provided in the GameTankEmulator repo), the width set to 128 pixels, and the height to at most 128 pixels.
In table form for easy reference:
| Color Mode | Indexed |
| Palette | GAMETANK.act |
| Width | 128px |
| Height | At most 128px |
Settings when creating a new file:
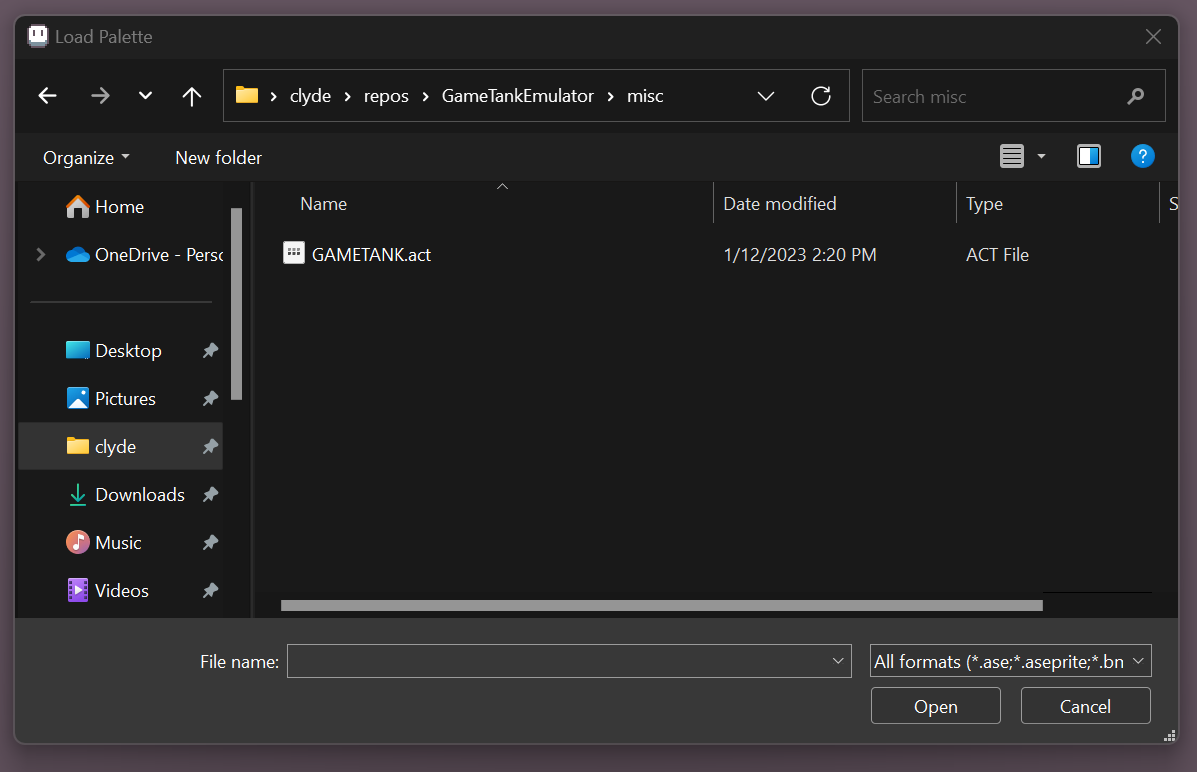
Selecting the palette file:
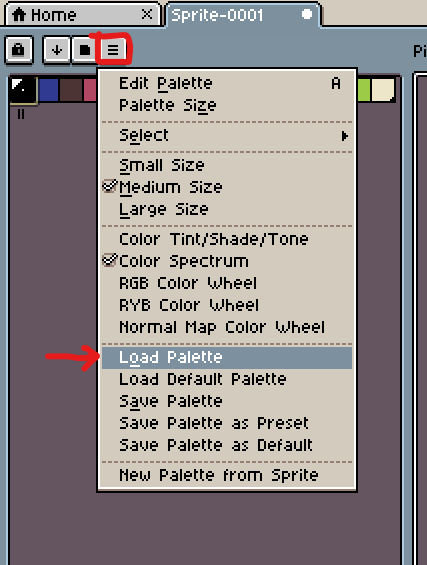
Once the new file is created, open the palette menu and pick Load Palette. If you've downloaded the emulator repository, GAMETANK.act is in the “misc” folder. But you can also download that file separately on GitHub.
Manual Export
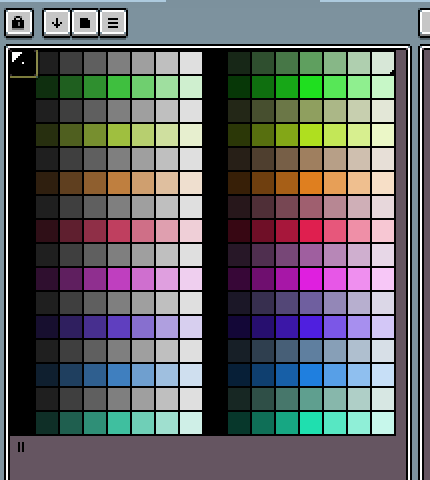
A .BMP file in indexed mode has a structure that is very straightforward to convert for GameTank use. The reason we want to use a specific palette file is that it assigns colors to each byte value that resemble the color that the video hardware would output for that byte.
Note that the video circuit is not palette-based. Instead each byte encodes packed parameters for the video signal:
| Bitmask | Physical Control | Effective Output |
|---|---|---|
| 11100000 | Color Carrier Phase Shift | Hue |
| 00011000 | Color Carrier Amplitude | Saturation |
| 00000111 | DC Offset | Luminosity |
Since each pixel in both a BMP file and in VRAM is represented by a single byte, using GAMETANK.act provides the convenient assignment from all possible byte values in a BMP to a closely matching output color.
BMP file structure
BMP files contain a header that specifies things like color mode, and width and height in pixels. Indexed BMP files will also contain a table of RGB values that describes the palette. At the end of the file is the image data. For our purposes we need only the image data, and will discard the header including the palette.
Making a GTG file
Technically it is not required to name your output file with a .GTG extension specifically. Short for “GameTank Graphics” it's useful for differentiating from other data files you might be importing into your code.
Relative to how they are displayed on screen, BMP files are actually stored vertically flipped. So you'll need to flip (not rotate) your art upside down. Aseprite has this under the Edit menu and the hotkey is Shift+V.
Next you'll need to extract only a certain number of the last bytes of your BMP file. This certain number is the same as the total number of pixels in your image. So if your image is 128 wide and 128 tall you'll need the last 16384 bytes of the BMP file.
On Mac and Linux this can be done with a simple terminal command:
tail -c 16384 myfile.bmp > myfile.gtg
In Windows Powershell the command is a bit more verbose but this should be equivalent:
Get-Content -Path "myfile.bmp" -Encoding Byte | Select-Object -Last 16384 | Set-Content -Path "myfile.gtg" -Encoding Byte
Using the SDK
The GameTank SDK includes scripts for automatically converting and compressing your image files using Zopfli.
This section will cover the settings and export options needed to take full advantage of the SDK's conversion script and animation API.
The SDK supports animated sequences as packed sprite sheets that don't need to be aligned to a grid, using a framedata file exported alongside the bitmap.
The canvas on the source file can be as big as your largest animation frame needs to be, and the export/conversion process will handle trimming individual frames. The center of the canvas will be treated as the pivot point for your sprite across its animation frames. You should keep the .ase or .aseprite original file separate from the asset folder you'll be exporting to. A good place for this would be to create an “art” folder in your project and store it there.
The export dialog we'll use is “Export Sprite Sheet” under the File → Export submenu.
On the Layout tab, sheet type should be set to “Packed” and the constraints set to “Fixed Width” for 128px. The total height should end up smaller than 128px.
On the Borders tab select Trim Cels to pack the frames based on their bounding box size, taking transparent areas into account.
Finally on the Output tab check the Output File and JSON Data boxes. Make sure that the image output file is a BMP instead of the PNG default. In your SDK project save this into a subfolder of the “assets” folder, such as “assets/player/chara_hero.bmp”.
The JSON file should be saved in the same folder as the BMP. It can have any name, but generally using the same name apart from the .json extension will make it easier to remember the two files are associated.
The drop down should be switched from “Hash” to “Array”.
After adding, removing, moving, or resizing files in the assets folder use the
make import
command to update your project.

